What Is The Blue Hour?
The blue hour is a magical time for photographers and nature enthusiasts alike. It refers to the period of twilight each morning and evening when the sun is below the horizon, and the sky takes on a deep blue hue. This time offers unique lighting conditions that can add a captivating quality to your photographs. In this article, we will explore what the blue hour is, why the light appears blue, how long it lasts, and provide some tips for blue hour photography.
What Is The Blue Hour?
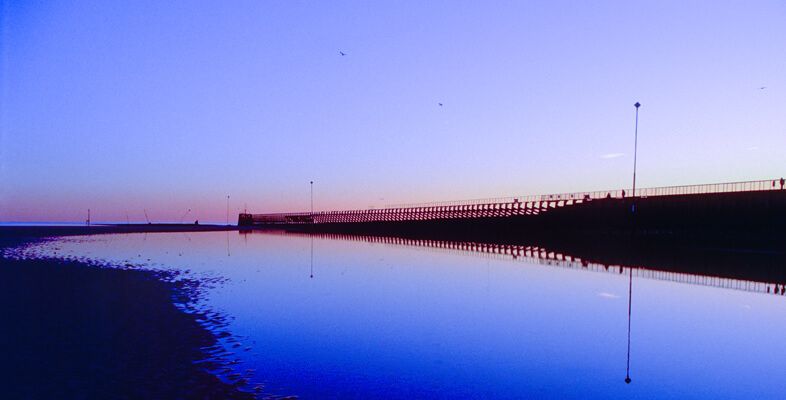
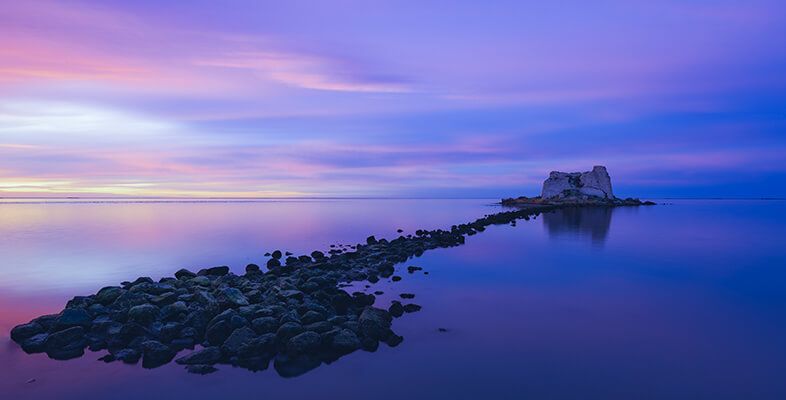
The blue hour is the period of twilight that occurs twice a day, just before sunrise and just after sunset. During this time, the sun is below the horizon, and the indirect sunlight is dominated by shorter blue wavelengths. This creates a serene and cool blue tone in the sky, which contrasts beautifully with the warmer artificial lights of urban environments or the natural colors of landscapes.
The Blue Hour
The blue hour is divided into two phases:
Morning Blue Hour: Occurs before sunrise, as the sky transitions from night to day.
Evening Blue Hour: Occurs after sunset, as the sky transitions from day to night.
Both phases offer unique opportunities for photography, providing soft, diffused lighting that enhances the colors and details in your images.

Why Is The Light Blue?
The light appears blue during the blue hour due to the scattering of sunlight by the atmosphere. This phenomenon, known as Rayleigh scattering, occurs when the sun is below the horizon, and its light passes through the atmosphere at a shallow angle. Shorter blue wavelengths are scattered more than longer red wavelengths, resulting in the sky taking on a predominantly blue color.
Does The Blue Hour Last For 60 Minutes?
Despite its name, the blue hour does not actually last for a full 60 minutes. The duration of the blue hour varies depending on your geographic location and the time of year. On average, the blue hour lasts between 20 to 40 minutes. Closer to the poles, the blue hour can last longer during certain times of the year, while near the equator, it may be shorter.
Blue Hour Photography Tips
Taking advantage of the blue hour’s unique lighting can enhance your photographs dramatically. Here are some tips for capturing stunning blue hour images:
Plan Ahead: Use apps and websites to determine the exact times of the blue hour for your location. Arrive early to set up your equipment and find the perfect spot.
Use a Tripod: Due to the low light conditions, using a tripod is essential to avoid camera shake and ensure sharp images.
Adjust Your Camera Settings:
ISO: Keep your ISO low (100-400) to reduce noise.
Aperture: Use a small aperture (f/8 to f/16) for a deep depth of field.
Shutter Speed: Slow shutter speeds (several seconds) will help capture the ambient light. Use a remote shutter release or the camera’s timer to avoid camera shake.
Shoot in RAW: Shooting in RAW format gives you more flexibility in post-processing, allowing you to adjust the exposure and colors without losing quality.
Incorporate Artificial Lights: The blue hour provides a beautiful contrast between the cool blue sky and warm artificial lights. Include streetlights, building lights, and car trails in your composition to add interest and depth.
Experiment with Reflections: Look for water bodies, glass surfaces, or wet pavements to capture reflections of the blue sky and surrounding lights, adding an extra dimension to your photos.

Conclusion
The blue hour offers a unique and enchanting time for photography, with its soft, diffused light and striking blue tones. By understanding the science behind the blue hour, planning your shots, and using the right techniques, you can capture stunning images that stand out. Whether you are shooting landscapes, cityscapes, or portraits, the blue hour provides a magical backdrop that can transform your photography.

Or Get YourMoney Back
back your money in the rare case you are not satisfied with the quality of your
damage-free pictures. Only $38 for most image restorations regardless of damage

All rights reserved.