What Is Backlighting
Backlighting is a popular technique in photography that involves positioning the light source behind the subject. This method creates a distinctive effect, adding depth, drama, and a unique glow to your photos. In this article, we'll explore what backlighting is, its effects, common uses, and tips on how to effectively use backlight in your photography.
What Is Backlighting in Photography?
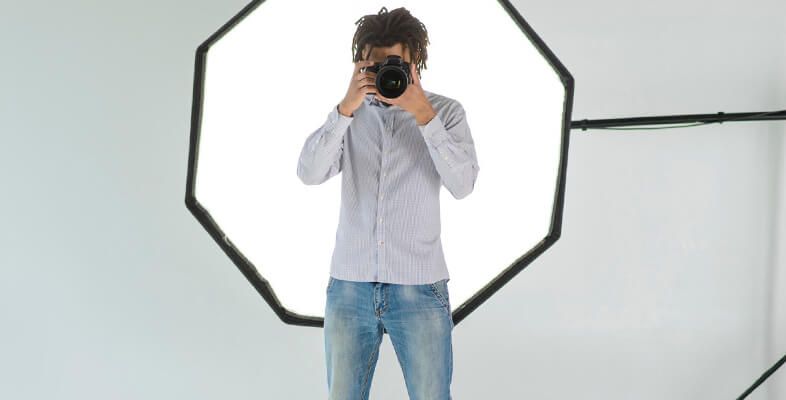
Backlighting occurs when the primary light source is placed behind the subject, facing the camera. This setup causes the subject to be illuminated from behind, often resulting in a silhouette or halo effect. The key to backlighting is managing the exposure to ensure the background light doesn’t overpower the subject while still achieving the desired effect.

What Are the Effects of Backlighting in Photography?
Backlighting can create several unique and visually appealing effects:
Silhouettes: When the subject is underexposed against a brighter background, it results in a dark, defined silhouette. This effect is striking and can add a sense of mystery or drama to the image.
Halo or Rim Light: Backlighting can create a glowing halo around the edges of the subject. This effect is particularly effective in portrait photography, highlighting the subject’s outline and adding a magical touch.
Lens Flare: When the light source directly hits the camera lens, it can create lens flares. While sometimes considered a flaw, lens flares can be creatively used to add artistic elements to a photo.
Translucence: Backlighting can make translucent objects, like leaves, fabrics, or hair, appear luminous and vibrant. This effect enhances texture and detail, making the subject stand out.
What is Backlight Photography Used For?
Backlight photography is used in various scenarios to achieve specific artistic goals:
Portraits: Backlighting adds depth and a professional look to portraits. It can separate the subject from the background and create a flattering glow around the person.
Nature and Landscape: In nature photography, backlighting can highlight the transparency of leaves, petals, and water, making them appear more vibrant. It’s also used to capture stunning sunrises and sunsets.
Product Photography: For products made of glass or other translucent materials, backlighting can highlight the product’s texture and clarity, making it look more appealing.
Creative Effects: Photographers often use backlighting to experiment with creative effects, such as silhouettes, shadows, and artistic flares, to add a unique touch to their images.

How to Use Backlight in Photography
Here are some tips to effectively use backlight in your photography:
Control Exposure: Use manual settings to control exposure. Adjust the exposure to balance the light between the subject and the background. Spot metering can help focus on the subject while avoiding overexposure of the background.
Use Reflectors: Reflectors can help bounce light back onto the subject’s face, reducing shadows and ensuring they are well-lit even with the light source behind them.
Timing and Positioning: The best time for backlighting is during the golden hours—shortly after sunrise and before sunset. Position your subject with the light source directly behind them or at an angle to achieve the desired effect.
Lens Hood: Use a lens hood to minimize unwanted lens flares. This helps control the amount of light entering the lens and prevents glare.
Experiment: Don’t be afraid to experiment with different angles, light intensities, and positions. Each setup can produce different effects, allowing you to discover new creative possibilities.
Conclusion
Backlighting is a powerful technique in photography that can transform ordinary scenes into extraordinary images. By understanding how to manage light and exposure, you can use backlighting to create stunning effects that enhance the mood, depth, and visual appeal of your photos. Whether you’re capturing portraits, landscapes, or product shots, mastering backlighting will add a dynamic and professional touch to your photography.

Or Get YourMoney Back
back your money in the rare case you are not satisfied with the quality of your
damage-free pictures. Only $38 for most image restorations regardless of damage

All rights reserved.