
Outdoor Photography Guide
Outdoor photography allows you to capture the beauty and diversity of the natural world, from breathtaking landscapes to candid street scenes. Whether you're a beginner or a seasoned photographer, understanding how to navigate outdoor environments and make the most of natural light is crucial for creating stunning images. This guide will cover essential tips and techniques for successful outdoor photography.
Understanding Outdoor Lighting
1. Golden Hours
Timing: The golden hours, which occur shortly after sunrise and before sunset, provide the most flattering natural light. The sun is low in the sky, creating soft, warm tones and long shadows.
Advantages: This light is ideal for landscapes, portraits, and any scene where you want to capture a warm, inviting atmosphere.
2. Midday Light
Challenges: Midday light can be harsh, causing high contrast and unflattering shadows. It’s typically not ideal for portraits but can work well for certain types of street and architectural photography.
Solutions: Use reflectors or diffusers to soften the light, or seek shaded areas to avoid harsh shadows on your subject.
3. Blue Hour
Timing: The blue hour occurs just before sunrise and after sunset. The sky takes on deep blue tones, creating a serene and magical atmosphere.
Advantages: This light is perfect for cityscapes, landscapes, and night photography, providing a beautiful contrast between the cool blue sky and artificial lights.
Essential Gear for Outdoor Photography
1. Camera and Lenses
Versatility: A DSLR or mirrorless camera with manual controls allows for flexibility in different lighting conditions. Choose lenses based on your subject matter; a wide-angle lens is great for landscapes, while a prime lens is excellent for portraits.
2. Tripod
Stability: A sturdy tripod is essential for low-light conditions, long exposures, and ensuring sharp images. It’s particularly useful during the golden and blue hours.
3. Filters
Polarizing Filter: Reduces reflections and enhances colors, making skies appear bluer and foliage more vibrant.
ND Filter: Allows for longer exposures during bright conditions, creating smooth water effects and motion blur.
Compositional Techniques
1. Rule of Thirds
Grid System: Divide your frame into a 3x3 grid and place key elements along these lines or at their intersections. This creates a balanced and visually appealing composition.
2. Leading Lines
Guiding the Eye: Use natural lines, such as roads, rivers, or fences, to guide the viewer's eye through the image. Leading lines add depth and direct attention to the main subject.
3. Framing
Natural Frames: Use elements like trees, arches, or windows to frame your subject. This technique adds context and depth to your photos.
Posing Guide for Outdoor Portraits
1. Natural and Relaxed Poses
Comfort: Encourage your subject to relax by engaging in conversation and allowing them to move naturally. This reduces stiffness and results in more authentic expressions.
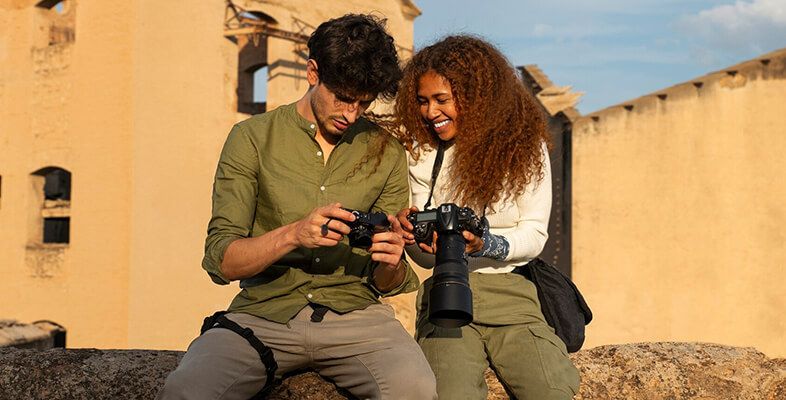
Interaction: For couples or group photos, have them interact with each other. This creates a more dynamic and genuine image.
2. Utilizing the Environment
Props: Use natural elements like benches, rocks, or trees for your subject to sit or lean on. This adds interest and context to your portraits.
Movement: Incorporate movement by having your subject walk, spin, or interact with their surroundings. This adds energy and spontaneity to your shots.
3. Lighting and Angles
Backlighting: Position your subject with the sun behind them to create a beautiful halo effect and reduce harsh shadows on their face.
Angles: Experiment with different angles to find the most flattering perspective. Shooting slightly above the subject can be particularly flattering for portraits.
Post-Processing Tips
1. Basic Adjustments
Exposure and Contrast: Adjust exposure to ensure your image is well-lit, and tweak contrast to add depth and dimension.
White Balance: Correct the white balance to ensure colors are true to life. Adjusting this can dramatically change the mood of your photo.
2. Enhancing Colors
Saturation and Vibrance: Increase saturation and vibrance to make colors pop, but avoid overdoing it, as this can make the image look unnatural.
Selective Color Adjustments: Enhance specific colors to draw attention to key elements or create a particular mood.
3. Sharpening and Noise Reduction
Sharpness: Apply sharpening to enhance details, especially if the image was taken with a high-resolution camera.
Noise Reduction: Reduce noise in low-light images to achieve a cleaner, more professional look.
Conclusion
Mastering outdoor photography involves understanding how to work with natural light, using the right gear, and applying effective compositional techniques. By following these tips and experimenting with different settings and approaches, you can capture stunning outdoor images that showcase the beauty and diversity of your surroundings. Whether you're shooting landscapes, portraits, or street scenes, this guide will help you create memorable and impactful photographs.


Or Get YourMoney Back
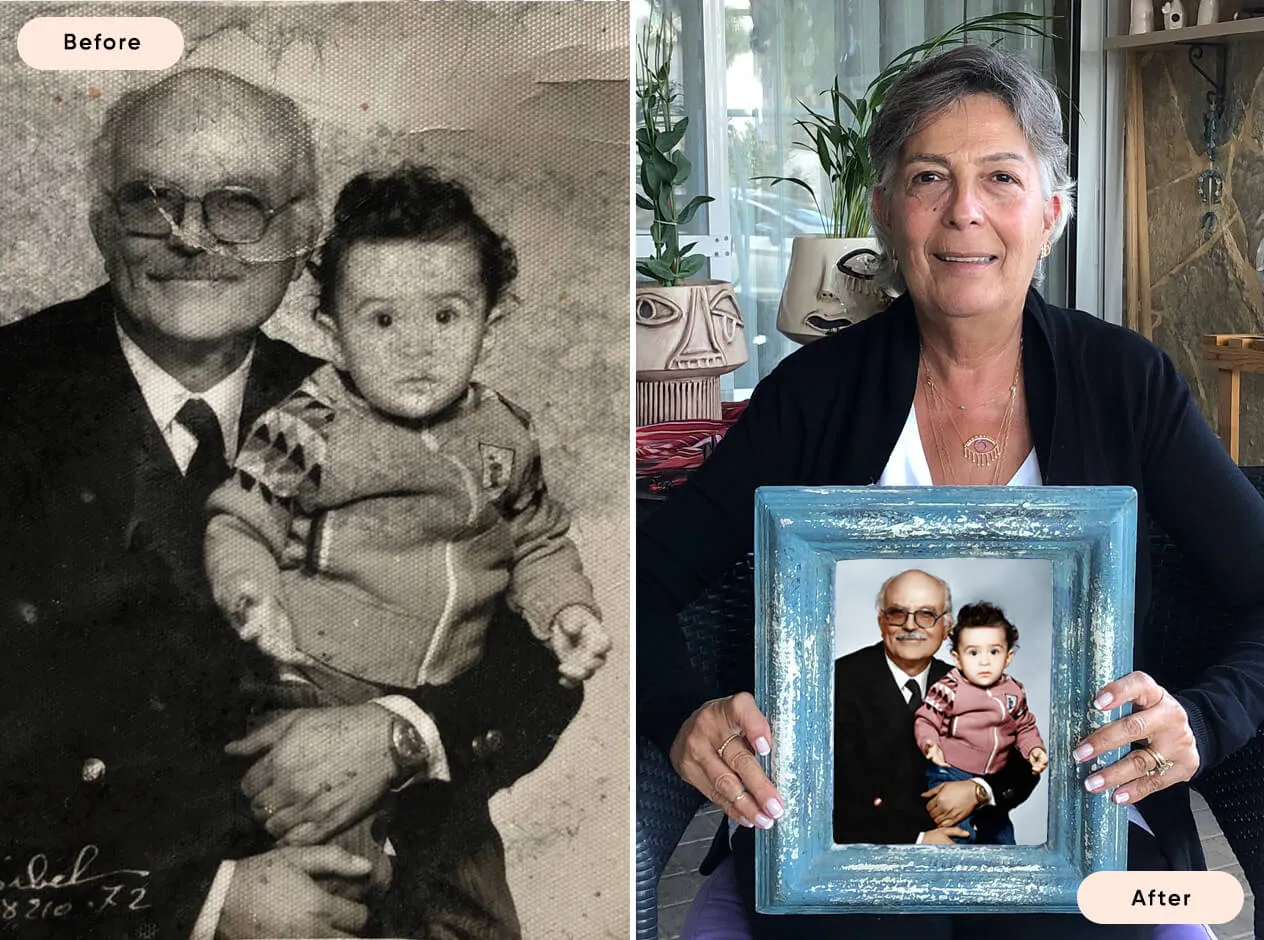
back your money in the rare case you are not satisfied with the quality of your
damage-free pictures. Only $38 for most image restorations regardless of damage


All rights reserved.

