
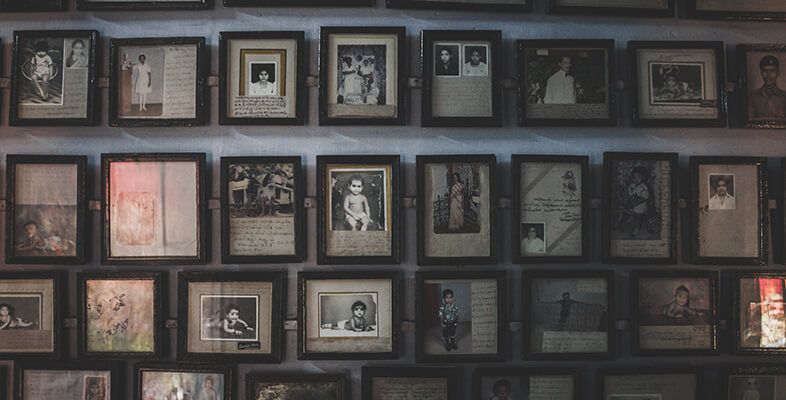
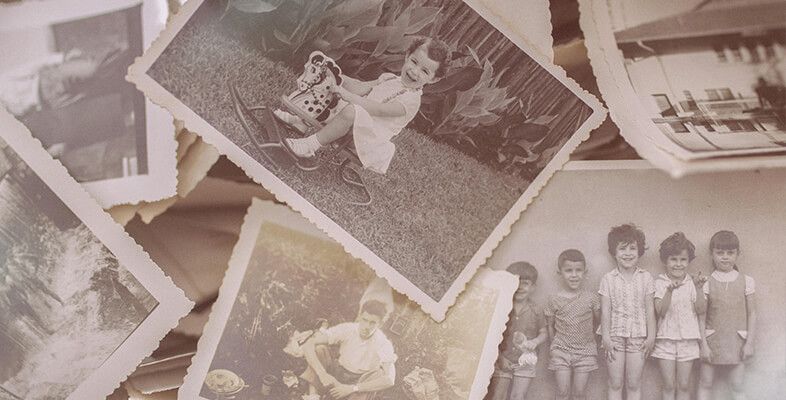
How to Safely Remove Photos Stuck to Glass
Removing a photo stuck to glass can feel like a daunting task. It’s frustrating when your cherished memories become trapped behind a layer of adhesive. Thankfully, there are simple methods to tackle this issue without damaging the photo or the glass. From using heat to loosen the bond to applying gentle solvents, you have options. Each method is straightforward and requires minimal supplies, making it easy for anyone to try. Whether it's an old frame or a recent mishap, knowing how to remove that stubborn photo will save you time and keep your memories intact. Let’s dive into the best techniques for freeing those photos from their glass prison.
Why Photos Stick to Glass
Causes of Sticking
Humidity is a primary factor that causes photos to stick to glass surfaces. High moisture levels can create a bond between the photo and the glass. This bond makes it difficult to separate them without damage.
Prolonged exposure to heat also contributes to this adhesion. Heat can cause the photo's material to warp or become tacky. This can happen in places like attics or near windows where sunlight hits directly.
Using non-archival materials increases the likelihood of photos sticking. These materials may contain acids that deteriorate over time. As they break down, they create a sticky residue that binds the photo to the glass.
Risks of Removal
The potential for damaging the photo during removal attempts is significant. If too much force is applied, the image can tear easily. This is especially true for older photographs that are more fragile.
Improper techniques can lead to tearing or fading of the image as well. Rushing through the process often results in mistakes. Even slight abrasions can ruin the appearance of a cherished memory.
Consider the possibility of glass breakage when applying forceful removal methods. Sharp edges can cause injuries if the glass shatters suddenly. It's essential to handle everything with care to avoid accidents.
Importance of Careful Handling
Gentle movements are necessary to avoid further damage to the photo. A soft touch helps maintain its integrity while trying to remove it from the glass.
Working in a clean, distraction-free environment is crucial. Clutter can lead to accidents or misplaced items during the removal process. Keeping tools organized reduces stress and enhances focus.
Patience throughout the removal process ensures success. Rushing can lead to errors that cause irreversible damage. Taking time allows for careful assessment and strategy for safe removal.
Prepare Before Removing
Make a Copy First
Creating a digital backup of the photo is crucial. This step protects your memories before attempting any removal methods. Use high-resolution scanning or photography to capture the image accurately. A good quality scan preserves details that may be lost during removal. Review the digital copy for clarity and quality. Ensure it serves as a reliable backup in case anything goes wrong.
Gather Necessary Tools
Collect essential tools needed for the removal process. A hairdryer can help soften adhesive, making it easier to remove the photo. Warm water is another useful tool, as it can loosen sticky substances. A razor blade may also be necessary for careful lifting of the photo from the glass surface.
Make sure to have a soft cloth or sponge on hand for cleaning once you’re done. This helps remove any residue left behind after the photo is removed. Prepare your workspace with adequate lighting. Good visibility allows for careful handling and reduces the risk of damaging the photo or glass.
Assess Photo Condition
Examine the photo closely for signs of damage or deterioration. Look for creases, tears, or discoloration that might affect how you approach removal. Determine how long the photo has been stuck to the glass. Photos stuck for a long time may require different methods compared to newer ones.
Check for visible moisture or bubbles between the photo and glass. These signs indicate possible issues with adhesion. If moisture is present, allow it to dry before attempting removal. Understanding these factors will guide your choice of method and tools.
Methods to Remove Photos
Use a Hair Dryer
A hairdryer can help remove photos stuck to glass. Apply low heat to loosen the adhesive. Keep the dryer about 4-5 inches away from the photo. This distance prevents overheating and potential damage. Move the hairdryer in a circular motion. This technique evenly distributes warmth across the surface.
The heat will soften the glue, making it easier to peel off the photo. Check frequently to ensure the photo is not getting too hot. If you notice any warping, stop immediately. This method works well for photos that are stuck but not overly damaged.
Freeze the Photo
Freezing is another effective method for removing photos from glass. Place both the photo and glass in the freezer for about an hour. Cold temperatures reduce moisture and make adhesives less sticky. Monitor the time closely, as excessive freezing can cause damage to the photo.
After an hour, carefully remove the photo from the glass. Use gentle pressure to separate them. The cold should have made it easier to pull apart without tearing. If it doesn't come off easily, return it to the freezer for a bit longer.
Soak in Water
king is a simple method that can also work well. Submerge the photo and glass in warm water. Warm water helps dissolve the adhesive holding the photo in place. Use a shallow container if you want to avoid soaking any frames.
Allow the photo to soak for several minutes. Check periodically to see if it loosens up. Patience is key here, as some adhesives take longer to break down than others. Once you see signs of loosening, gently lift the photo away from the glass.
Use a Razor Blade
Using a razor blade requires caution but can be effective. Hold the blade at a low angle against the edge of the photo. Gently pry it away from the glass surface. Keep your movements slow and steady.
Applying minimal pressure is important here. Too much force can cut into or tear the photo itself. Work methodically along one edge before moving to another area. This careful approach reduces damage risk while separating the two surfaces.
Prevent Future Sticking
Proper Storage Tips
Store photos in a cool, dry environment. This helps prevent future sticking issues that can damage your images. High humidity and heat can cause photos to adhere to glass surfaces.
Utilize photo albums or boxes designed for archival storage. These are made to protect images from dust and moisture. Avoid placing photos directly against glass surfaces in frames. Instead, use mats or spacers to create distance between the photo and the glass.
Use Acid-Free Materials
Select acid-free mats and frames for your photos. Acid-free materials prevent chemical reactions that can lead to sticking problems. Many common materials contain acids that degrade the photo over time.
Ensure all materials used for storage and display are archival-quality. This means they won’t harm your photos and will keep them in good condition. Regularly check the condition of these materials. Look for any signs of wear or degradation that might affect your images.
Regularly Rotate Photos
Change displayed photos periodically. This reduces prolonged contact with glass, which can lead to sticking. A rotation schedule encourages fresh displays and keeps your decor interesting.
Encourage air circulation around stored images by keeping them spaced apart. This helps prevent moisture buildup, which contributes to sticking. Monitor the condition of rotated photos closely. Look for any early signs of sticking or damage.
Closing Thoughts
Removing a photo stuck to glass can be tricky, but with the right approach, you can do it safely and effectively. We’ve covered why photos stick, how to prepare, various removal methods, and tips for preventing future issues. Each step is crucial for protecting your memories while keeping your glass intact.
Now that you're armed with knowledge, put these techniques into action. Don't let those stuck photos ruin your day. Share your success stories or ask questions in the comments below. Your experience can help others too!

Frequently Asked Questions
How can I tell if my photo is stuck to glass?
Look for signs like bubbling or a visible bond between the photo and the glass. If you can't easily lift the edges of the photo, it’s likely stuck.
What materials do I need to remove a photo from glass?
You will need a soft cloth, warm water, a plastic scraper, and possibly some adhesive remover. These tools help minimize damage during removal.
Is it safe to use heat to remove a photo from glass?
Yes, applying gentle heat can loosen adhesive bonds. Use a hairdryer on low settings, keeping it several inches away from the glass.
Can I prevent photos from sticking to glass in the future?
To prevent sticking, use acid-free mounting materials or frames with protective barriers. Avoid direct sunlight and humidity as well.
What should I avoid when removing photos from glass?
Avoid using sharp objects or excessive force, as these can scratch the glass or damage the photo. Patience is key.
Can I reuse the photo after removing it from the glass?
It depends on how well you removed it. If the photo remains intact and undamaged, you can reuse it. Otherwise, consider reprinting.
Should I consult a professional for stubborn photos?
If you’re unsure or the photo is valuable, consulting a professional conservator is wise. They have expertise in preserving delicate items safely.


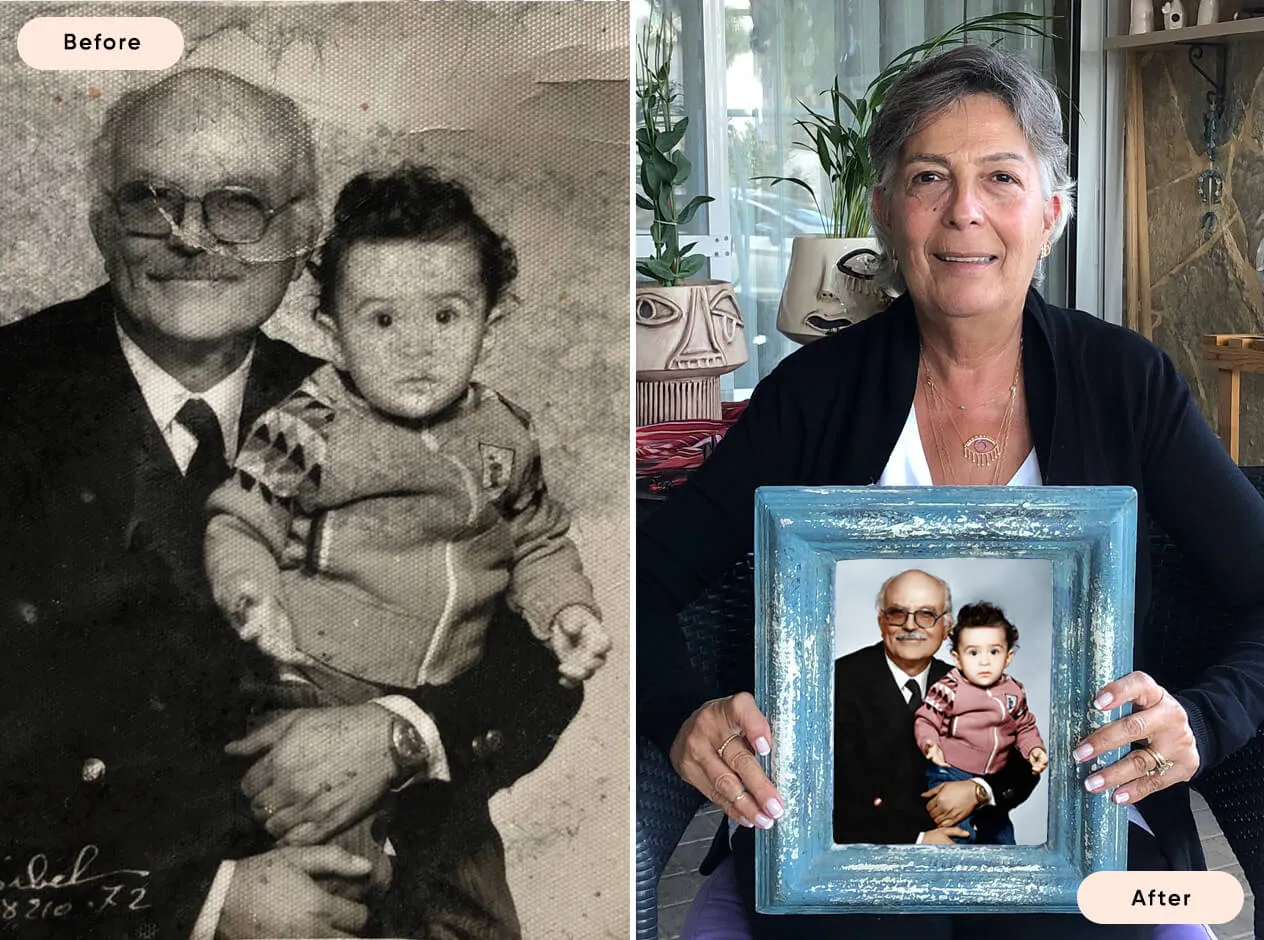
Or Get YourMoney Back
back your money in the rare case you are not satisfied with the quality of your
damage-free pictures. Only $38 for most image restorations regardless of damage


All rights reserved.

