How to Enlarge a Picture
Enlarging a picture can be essential for printing, displaying, or preserving memories. However, the process requires careful attention to detail to ensure quality is maintained. In this guide, we will explore the best practices for enlarging a picture, including tips on DPI for printing, methods to enlarge images without losing quality, and using Photoshop effectively.
What's the Best DPI for Printing?
DPI (dots per inch) is a critical factor when printing images. It determines the resolution and quality of the print. Here’s what you need to know about selecting the best DPI for different print sizes:
300 DPI: This is the standard for high-quality prints. It ensures that images are sharp and detailed, making it ideal for photos, art prints, and professional projects.
150-200 DPI: Suitable for larger prints like posters and banners where viewers are likely to stand further away. While not as sharp as 300 DPI, it still offers good quality.
72 DPI: Commonly used for digital displays and online images. This resolution is too low for printing as it results in pixelated and blurry images.
For best results, always aim for 300 DPI when enlarging photos for high-quality prints.
How to Enlarge an Image to Print
Enlarging an image to print without losing quality involves several steps:
Start with a High-Resolution Image: The higher the resolution of the original image, the better the results when enlarging. Aim for a resolution of at least 300 DPI.
Use Photo Editing Software: Tools like Adobe Photoshop or GIMP are excellent for enlarging images. They offer advanced resizing options that help maintain quality.
Preserve Aspect Ratio: Ensure you maintain the aspect ratio to avoid distortion. Most software has an option to lock the aspect ratio when resizing.
Apply Sharpening: After enlarging, use the sharpening tool to enhance details. This helps compensate for any slight loss of clarity.
Check for Artifacts: Enlarging can sometimes introduce artifacts or noise. Use noise reduction tools to clean up the image if necessary.
How to Enlarge Old Photos Without Losing Quality
Enlarging old photos can be particularly challenging due to their lower resolution and potential damage. Here’s how you can enlarge them effectively:
Scan at High Resolution: If you’re starting with a physical photo, scan it at a high resolution (600 DPI or higher). This provides more detail for enlarging.
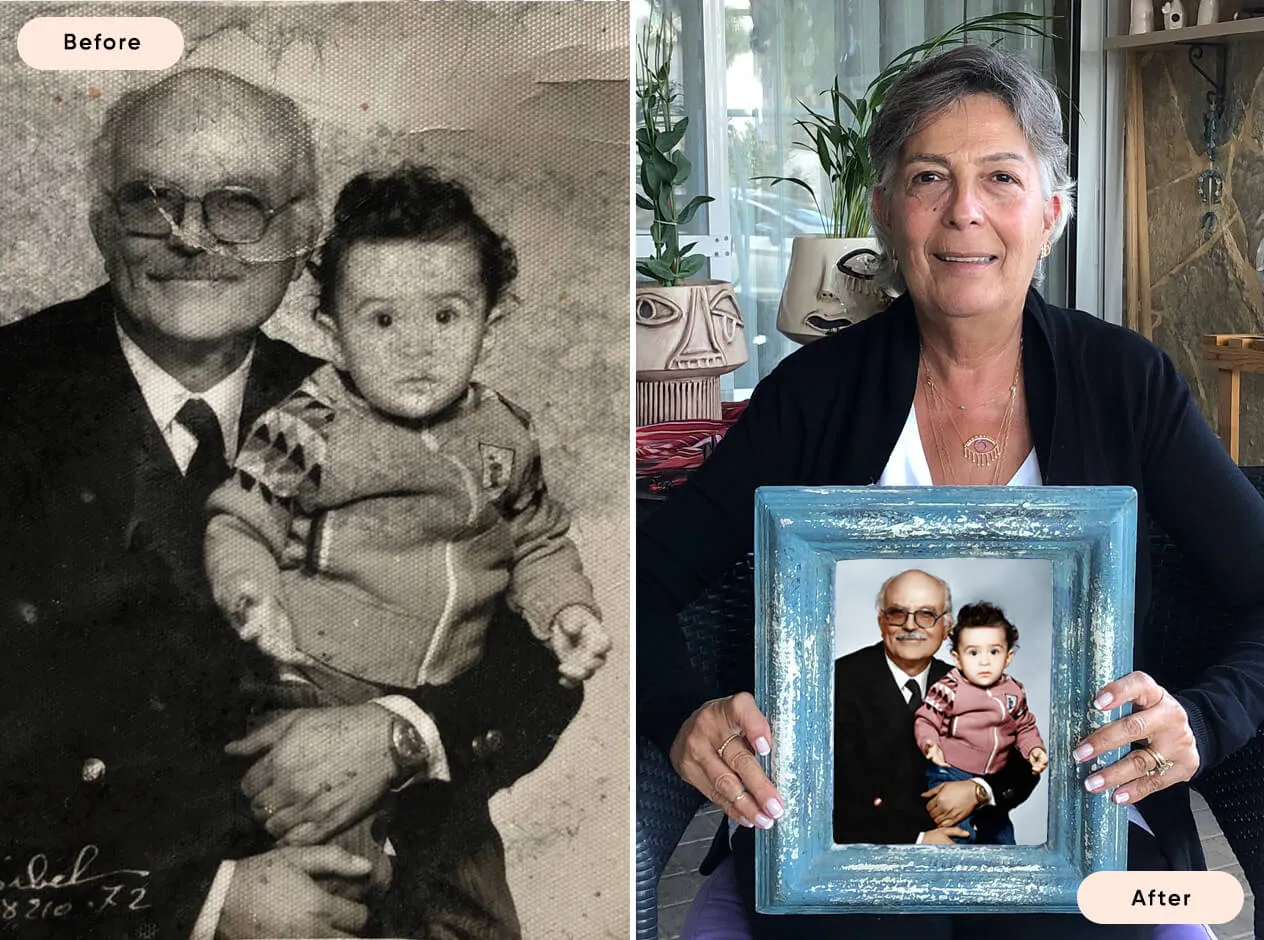
Use Professional Restoration Services: For the best results, consider using a professional photo restoration service. Our photo restoration service specializes in enhancing old photos, ensuring they are crisp and clear when enlarged.
Software Tools: Use specialized software like Adobe Photoshop or AI-powered tools like Topaz Gigapixel AI. These tools can intelligently upscale images while preserving details.
Manual Adjustments: After enlarging, manually adjust contrast, brightness, and sharpness to enhance the photo further.
How to Enlarge an Image in Photoshop
Photoshop is a powerful tool for enlarging images, but it requires careful handling to avoid quality loss. Here’s how to do it:
Open the Image: Start by opening your image in Photoshop.
Image Size Settings: Go to
Image>Image Size. In the dialog box, ensureResampleis checked and choosePreserve Details 2.0from the drop-down menu. This method uses advanced algorithms to maintain detail when resizing.Enter Dimensions: Input the new dimensions for your image. Make sure the resolution is set to 300 DPI for high-quality prints.
Apply Sharpening: After resizing, apply the
Smart Sharpenfilter (found underFilter>Sharpen>Smart Sharpen). Adjust the settings to enhance details without introducing noise.Check for Disadvantages: Be aware that unprofessional touches, such as over-sharpening or excessive use of filters, can degrade the image quality. It’s essential to make subtle adjustments and regularly compare with the original image to ensure quality is maintained.
Conclusion
Enlarging a picture requires a balance of technical skill and artistic judgment. By understanding the best DPI for printing, using advanced photo editing tools, and considering professional restoration services, you can successfully enlarge images while preserving their quality. Whether you’re preparing a photo for a large print or enhancing old memories, these tips will help you achieve the best results.

Or Get YourMoney Back
back your money in the rare case you are not satisfied with the quality of your
damage-free pictures. Only $38 for most image restorations regardless of damage

All rights reserved.