1. Gather the Right Tools
To start your DIY photo restoration project, you'll need some essential tools and materials, including a scanner to digitize your photographs, photo editing software (like Adobe Photoshop), and a computer with enough processing power and memory.
2. Learn Basic Editing Techniques
Beginners should familiarize themselves with basic photo editing techniques, such as cropping, adjusting contrast and brightness, and removing minor scratches or stains. Many online tutorials and courses can help you develop these skills.
3. Start with Simple Projects
It's best to start with less damaged photographs before tackling more challenging restoration projects. Simple restoration tasks can include removing dust and scratches or adjusting faded colors. Gradually work your way up to more complex issues like tears or missing sections.
4. Use Layered Editing
When using photo editing software, it's advisable to work with layers. This allows you to make non-destructive edits, preserving the original image while making corrections on separate layers. Layers also enable you to experiment with different restoration techniques.
5. Be Patient and Persistent
Photo restoration can be time-consuming, especially for beginners. It's essential to be patient and persistent, as mastering the craft may take time. Don't be discouraged by early setbacks; learning from mistakes is part of the process.
6. Seek Professional Help When Necessary
For severely damaged or historically significant photographs, it's often wise to seek the expertise of a professional photo restorer. They can handle complex issues and ensure the best possible results.
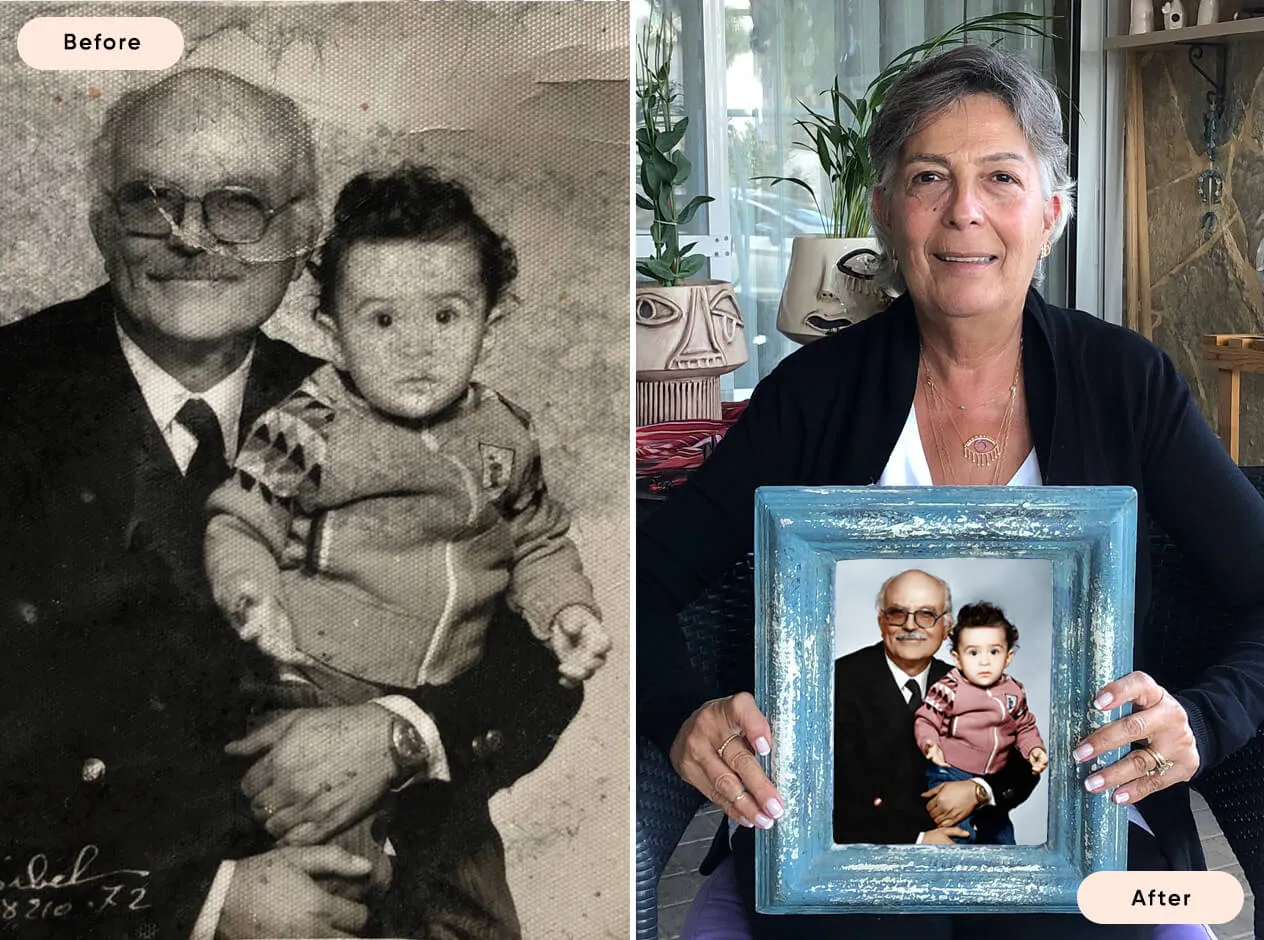
In conclusion, DIY photo restoration is an exciting hobby that allows you to breathe new life into your old photographs. With the right tools, techniques, and a bit of practice, you can create beautifully restored images that preserve your cherished memories.

Or Get YourMoney Back
back your money in the rare case you are not satisfied with the quality of your
damage-free pictures. Only $38 for most image restorations regardless of damage

All rights reserved.